


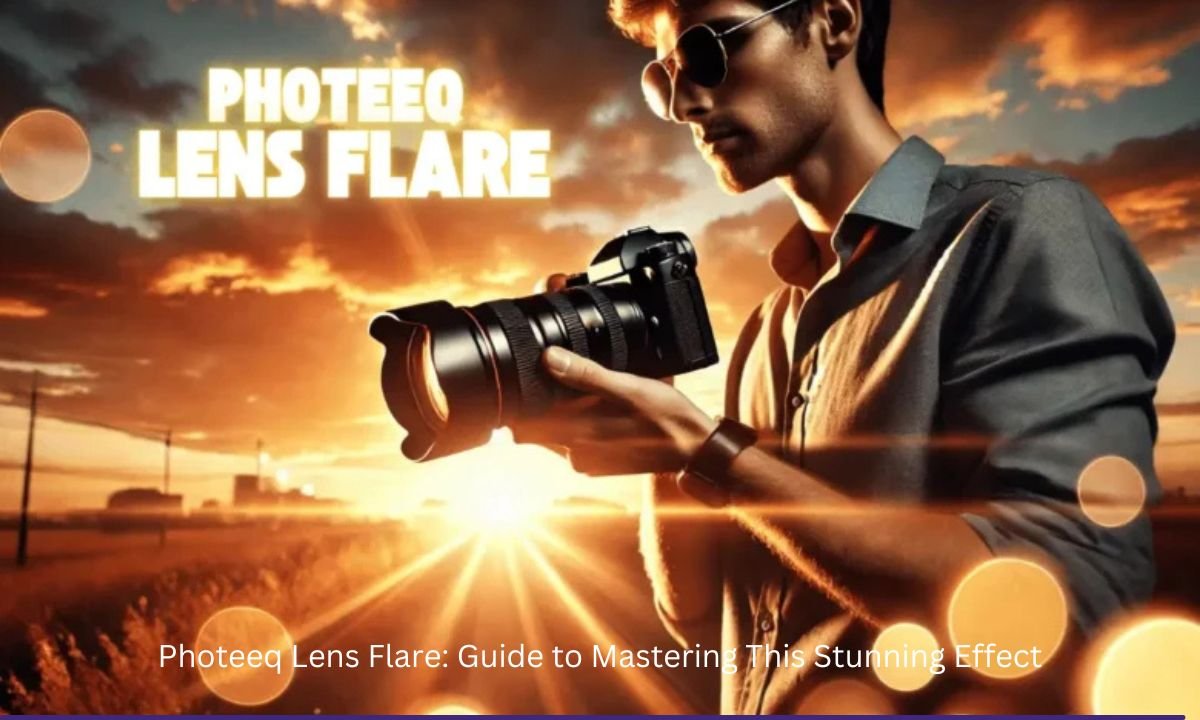
Photeeq Lens Flare, is a captivating photographic effect that can add drama, depth, and a touch of magic to your images. Among the tools available to achieve this effect, it stands out as a powerful and user-friendly option. Whether you’re a professional photographer or a hobbyist, understanding how to use Photeeq Lens Flare can elevate your photography game. In this article, we’ll explore everything you need to know about Photeeq Lens Flare, including its features, benefits, and how to use it effectively.
What is Photeeq Lens Flare?
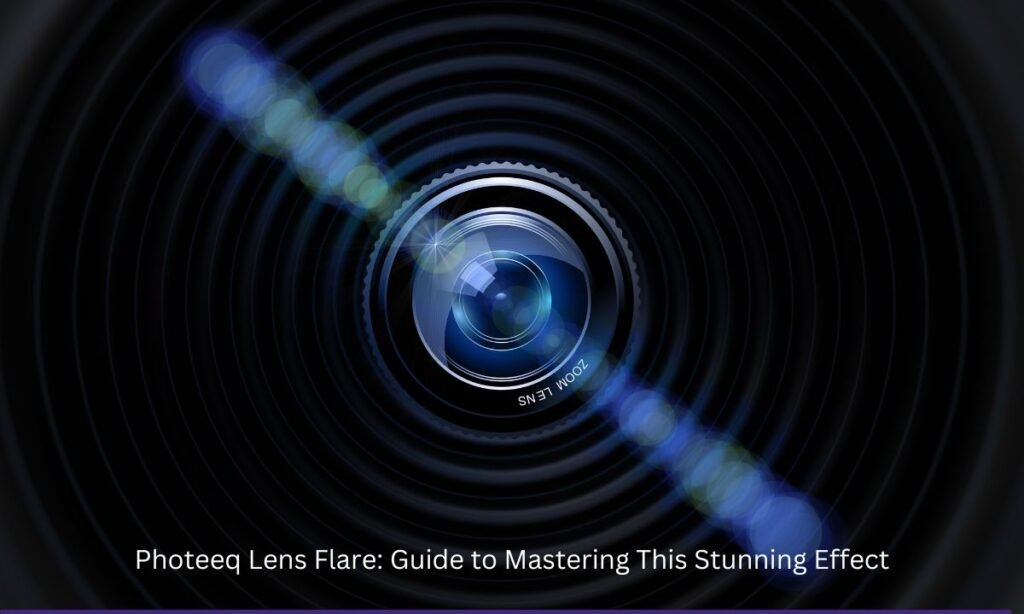
it is a digital tool designed to simulate the natural lens flare effect that occurs when light scatters or reflects inside a camera lens. This effect is often used to create a sense of realism, warmth, or artistic flair in photos. it allows users to add customizable lens flares to their images, making it a popular choice for photographers and graphic designers.
Read Also: Retro Bowl 3kh0 / Retro Bowl 3kh0

Why Use Photeeq Lens Flare?
Problem: Lack of Natural Lens Flare in Digital Photos
In digital photography, capturing natural lens flare can be challenging. Factors like lens quality, lighting conditions, and camera settings often limit the ability to achieve this effect organically.
Agitation: Missed Opportunities for Stunning Visuals
Without lens flare, images can appear flat or lack the emotional impact that light effects can bring. This is especially true for genres like portrait, landscape, and cinematic photography.
Solution: Photeeq Lens Flare to the Rescue
Photeeq Lens Flare provides a simple yet powerful solution. It allows you to add realistic and customizable lens flares to your photos, enhancing their visual appeal and storytelling potential.
Key Features of Photeeq Lens Flare
Here are some standout features that make it a must-have tool:
- Customizable Flare Effects: Adjust the intensity, color, and position of the flare to match your creative vision.
- Realistic Light Sources: Choose from a variety of light sources, including sun, streetlights, and artificial lights.
- User-Friendly Interface: Intuitive controls make it easy for beginners and professionals alike.
- High-Resolution Output: Ensures your images remain sharp and professional.
- Compatibility: Works seamlessly with popular photo editing software like Photoshop and Lightroom.
Read Also: Which is Not Considered an Additional / Ветеринарная клиника vetcitypets Pet Care Services
How to Use Photeeq Lens Flare: A Step-by-Step Guide
Install Photeeq Lens Flare
Download and install the Photeeq Lens Flare plugin or standalone application on your device.
Open Your Image
Import the photo you want to edit into the Photeeq Lens Flare interface.
Choose a Flare Preset
Select a preset that matches the mood or style you’re aiming for.
Customize the Flare
Adjust the flare’s position, size, brightness, and color to suit your image.
Apply and Save
Once satisfied, apply the effect and save your edited image in high resolution.
Benefits of Using Photeeq Lens Flare
| Benefit | Description |
|---|---|
| Enhanced Visual Appeal | Adds depth and dimension to your photos. |
| Creative Flexibility | Allows you to experiment with different lighting effects. |
| Time-Saving | Achieve professional-grade lens flare effects without extensive editing skills. |
| Versatility | Suitable for various photography genres, including portraits, landscapes, and more. |
Tips for Using Photeeq Lens Flare Effectively
- Use Sparingly: Overusing lens flare can distract from the main subject.
- Match the Light Source: Ensure the flare aligns with the natural light in your photo.
- Experiment with Colors: Try different color tones to create unique effects.
- Blend Naturally: Adjust opacity and blending modes to make the flare look realistic.
Read Also: Retro Bowl 3kh0 / 12B europe norwaysawerstechcrunch Investment
FAQs
1. What is Photeeq Lens Flare?
it is a digital tool that allows users to add realistic and customizable lens flare effects to their photos.
2. Is Photeeq Lens Flare easy to use?
Yes, Photeeq Lens Flare features an intuitive interface that makes it accessible for both beginners and professionals.
3. Can I use Photeeq Lens Flare with Photoshop?
Absolutely! it is compatible with popular editing software like Photoshop and Lightroom.
4. How do I make lens flare look natural?
To make lens flare look natural, ensure it aligns with the light source in your photo and adjust the opacity and blending modes.
5. Is Photeeq Lens Flare free?
it may offer a free trial, but full access typically requires a purchase. Check their official website for details.
6. What types of photos work best with lens flare?
Lens flare works well in portraits, landscapes, and cinematic-style photos, adding a dramatic or dreamy effect.
Conclusion
Photeeq Lens Flare is a game-changer for photographers and designers looking to add a touch of magic to their images. With its customizable features, user-friendly interface, and high-quality output, it’s no wonder why this tool is a favorite among creatives. Whether you’re enhancing a portrait, creating a cinematic masterpiece, or experimenting with light effects, has you covered.
By following the tips and techniques outlined in this guide, you’ll be able to master the art of lens flare and take your photography to new heights. So, why wait? Start exploring the possibilities with Photeeq Lens Flare today!


